Setting up Git Repository
Setting up an organization
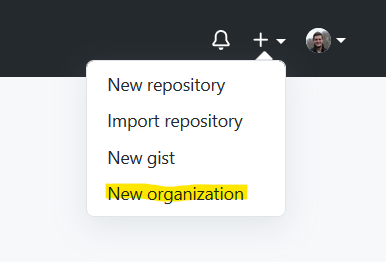
Press the '+' on the navbar in GitHub.

Click on "New organization".
Press “Join for Free”.
Enter information about your organization.
“Organization account name” is the Organization name, which you can enter whatever you like. If there is an error with it (for example an organization with the name exists) it will notify you.
“Contact email” should be the organization email or the person who is setting up the organization.
- “This organization belongs to” can be a personal or A business, but for this tutorial we will clock on “My personal account.”
(Optional) To invite people to the organization you can add their username, profile name, or email address.
Fill out the quick survey about the organization
You’re done! The organization is set up and is ready to have repos made to it.
Making repositories for the organization
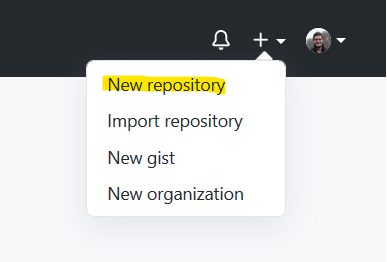
Press the ‘+’ on the navbar in GitHub.
Press on “New repository”.
Click on section under “Owner” (It will have your username) and change it to your organization.
From there make the repository like you normally would.
- Make sure to have a README.md enabled.
- You don’t need to invite your organization members as collaborators since an invite it already sent to all organization members.
Branching
By default, there should always be a master and a staging branch. The master will be what the public sees when they access a site and staging branch will be used for local view to test out new features.
Making a master and staging branch
- Click on the “Main” branch and add a new branch called “staging.”
- After making a repo go to the “Security” tab.
- Press on the “Branches” section.
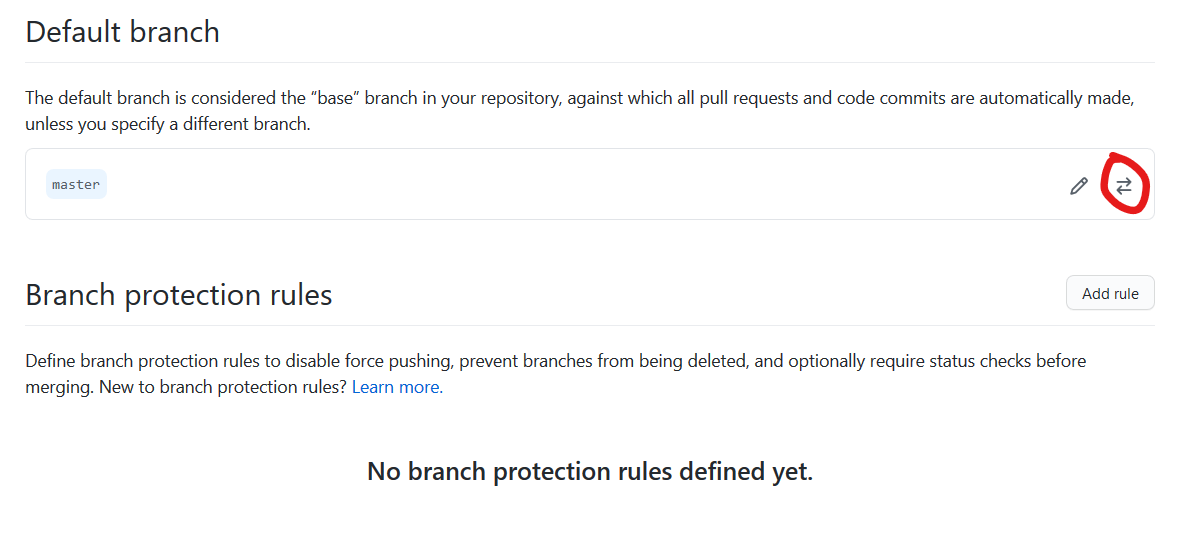
- Under the “Default branch” section press on the pen to the right of “main” branch.
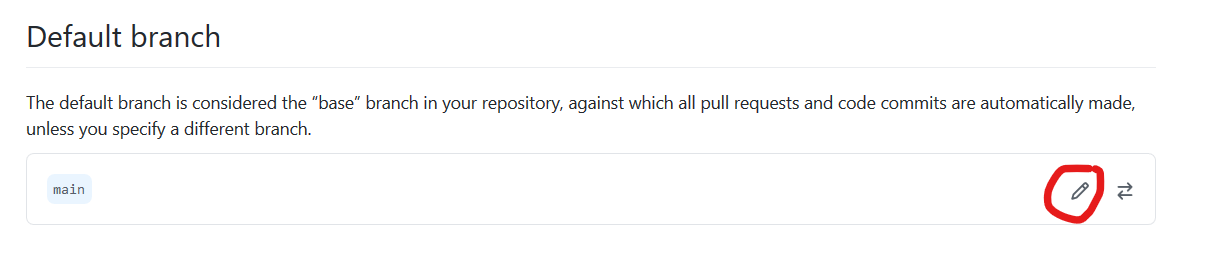
- Rename the “main” branch to “master” and confirm.
- You will be redirected to the branches page and from there click on the two arrows pointing towards the opposite direction.
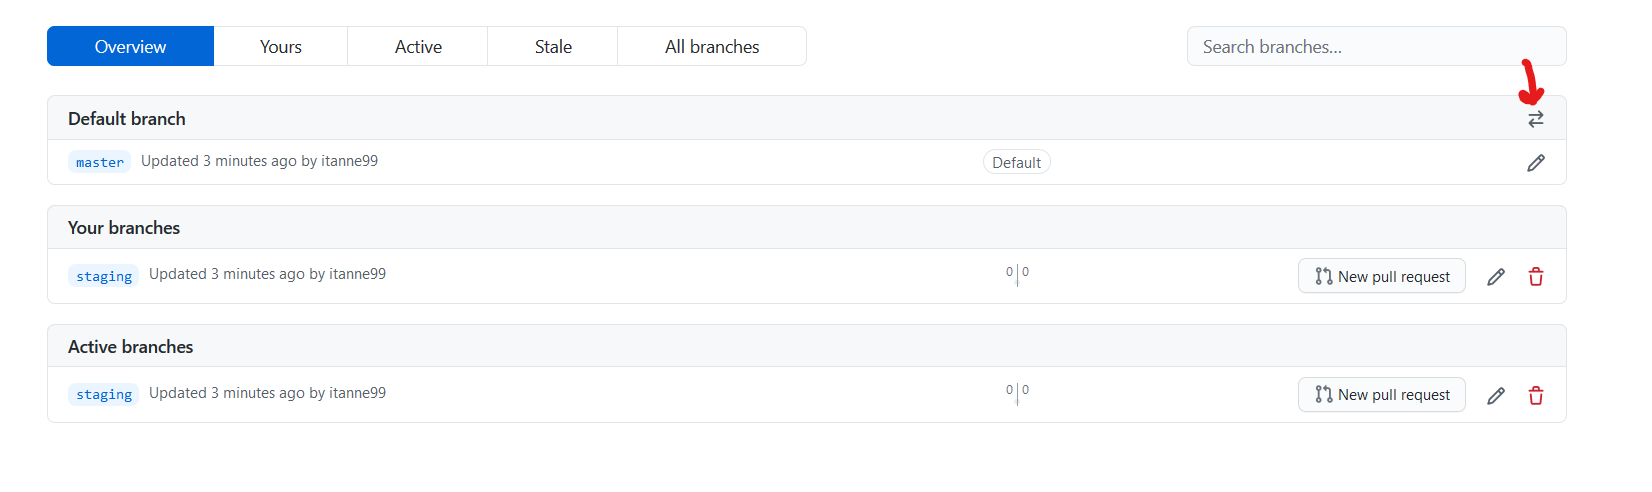
- Press on the same arrow again, but now in the branches section in the “Settings” tab.
- Click on “master”, change it to “staging”, and click “Update.”
- Done! You have made a master and staging branch
Merge Conflict
A merge conflict will occur when two users are trying to edit the same part of a file. For example both people editing a CSS class.
A merge error will occur when someone who pulled from the staging branch at an earlier date is trying to merge to the staging branch after another branch was merged to it at a later date.
In this example, I merged a newer branch into the staging branch and now the older “merge” branch is having a problem with merging into the “staging” branch due to new changes that it did not expect.

Resolving Merge Conflict
In this tutorial I will also be using Visual Studio Code to fix the merge error.
- Check out the current branch you are merging, in this case it will be the “merge” branch.
- Open the “Source control” tab.
- Expand the “Branches” section.
- Switch over to the “merge” branch.
- Open a new terminal with (Ctrl+Shift+`).
- Type in “git merge staging”.
- You’ll be prompted with a “CONFLICT (content): Merge conflict in file_name”.
- You’ll be shown the content from the “HEAD” branch and the branch you’re trying to merge to. Keep the changes you need.
- Commit & Push the changes and return to your pull request.
- From there you’ll be told “This branch has no conflicts with the base branch” and you can merge the pull request